Coat Closet Ideas – Easy DIY Closet Organization


Looking for a simple way to declutter your small coat closet? Have a small house with limited storage space? Here is an easy-to-do, DIY coat closet idea that will have your closet decluttered in just a few hours for under $200!
Table of Contents
ToggleThis site contains product affiliate links. We may receive a commission if you make a purchase after clicking on one of these links. See my disclaimer for more information.
The problem with small houses is they usually suffer when it comes to storage space. My family and I live in a standard bi-level home, which has enough space for our family, but really comes up short when it comes to places to “hide” stuff!
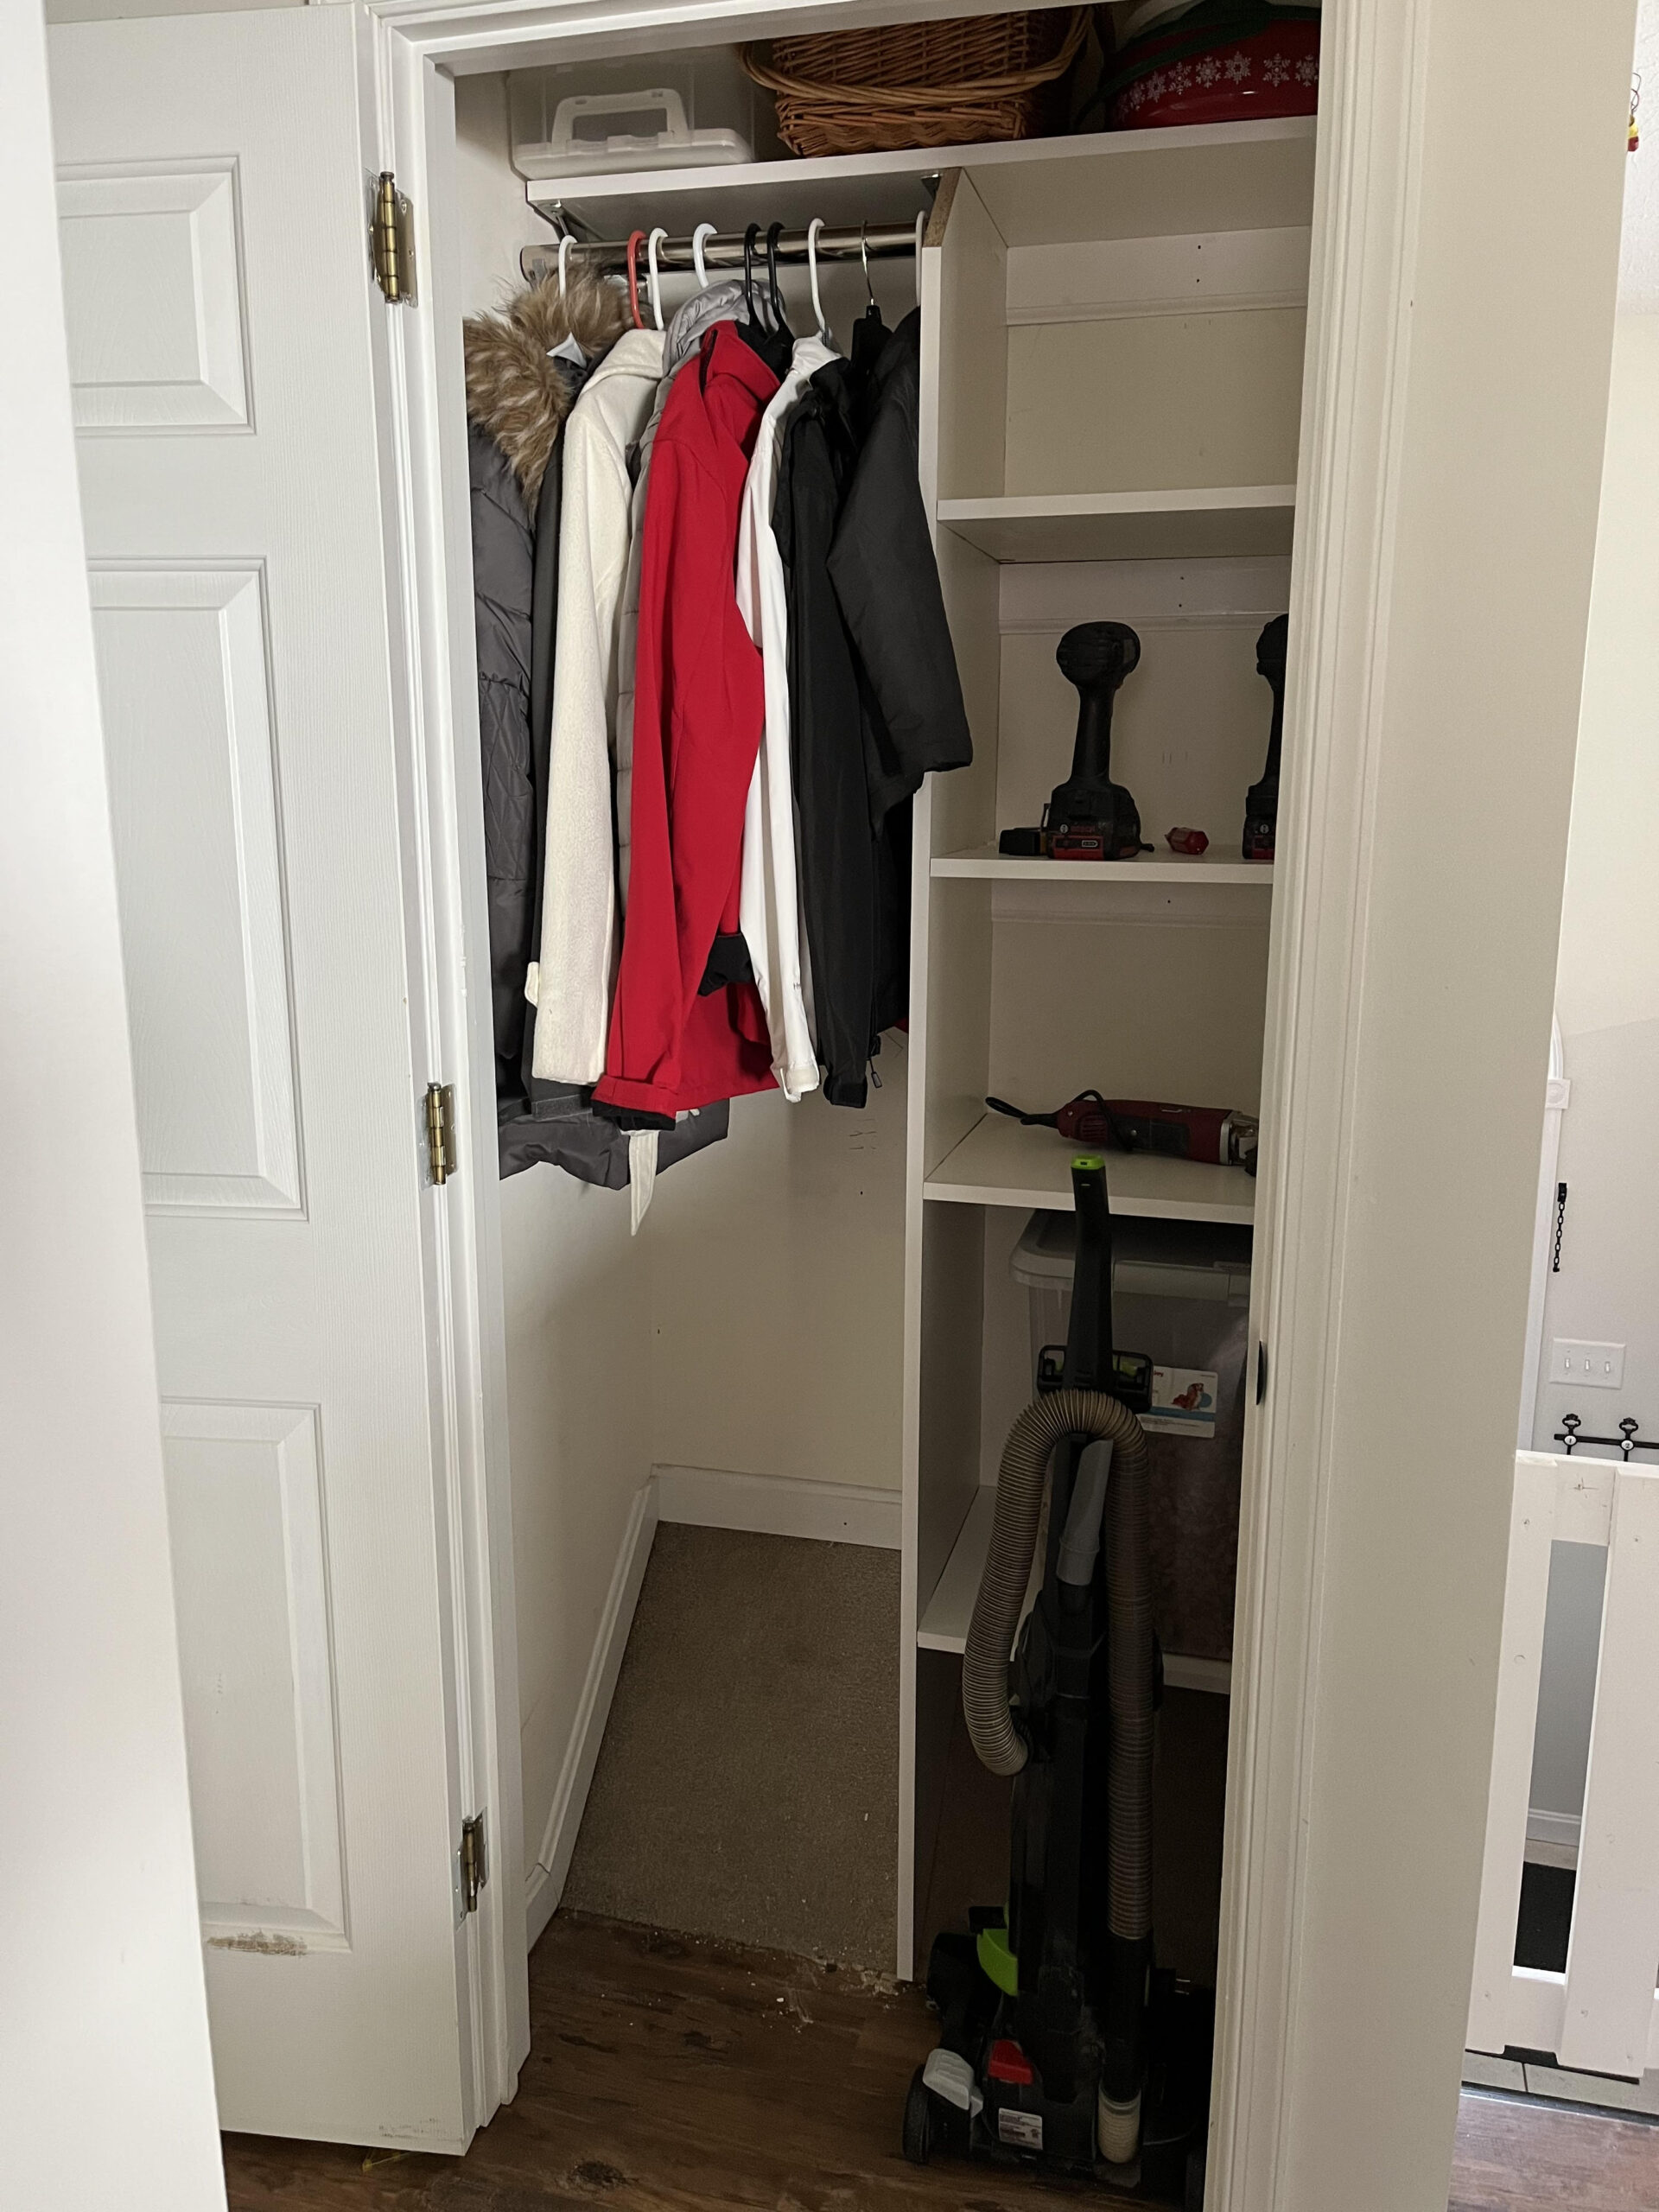
Though I don’t have a before picture, I will do my best to describe the closet, so you have an idea of what we were dealing with.
We had one wire shelf at the top and that is pretty much it. We had all of our stuff piled up on top of it, and you didn’t dare attempt to take anything down alone. Everything else was hanging off of nails scattered around the closet. It’s safe to say my wife was never very impressed with it.
How you do your DIY coat closet will depend on the size of the closet as well as what you want to store. The bigger the closet the more options you have, but also the more expensive things become. Draw out a quick plan of what you want to do before you go shopping.
For our small 2-foot deep by 3-foot wide coat closet, I wanted to have double closet rods on one side with a divider down the middle. On the other side, I wanted custom-sized shelving units to fit very specific items. Then at the top one shallower shelf that ran the entire length of the closet so we could actually get things up there.
Now let’s go over a quick shopping list so you know what you are going to need for your build.
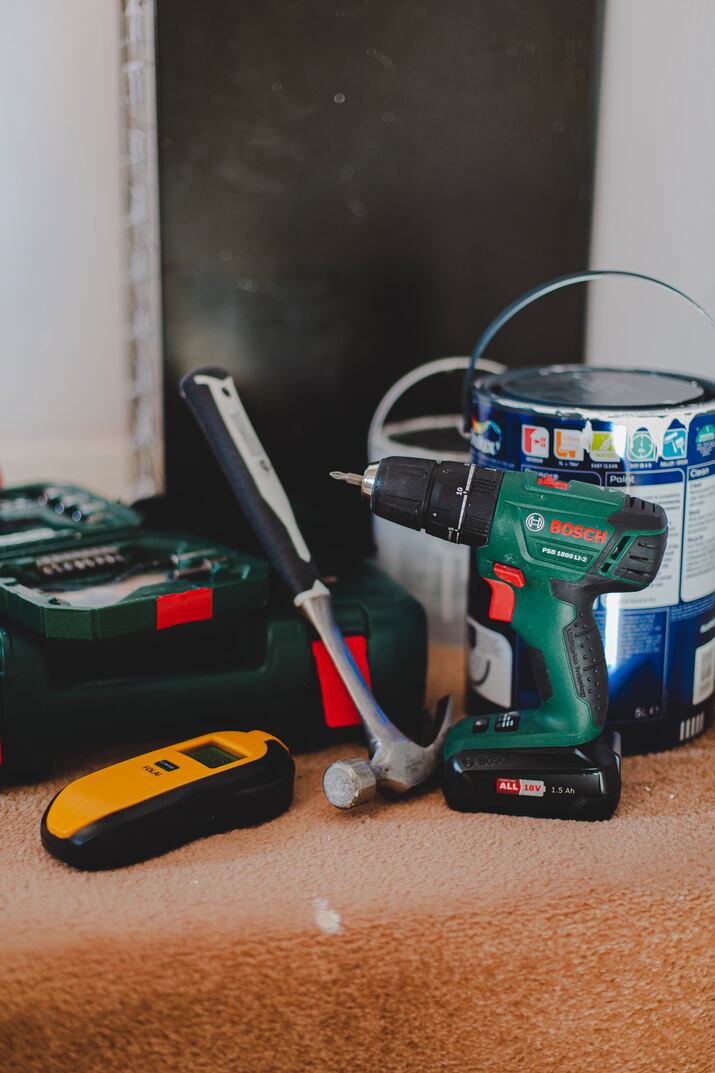
Quick list of tools and other items you will need to complete this project.
I’m not going into a ton of detail on these steps because everyone is going to have a slightly different build. I’ll let you know what I did and the measurements I used so you have something to reference when doing your own DIY coat closet build.
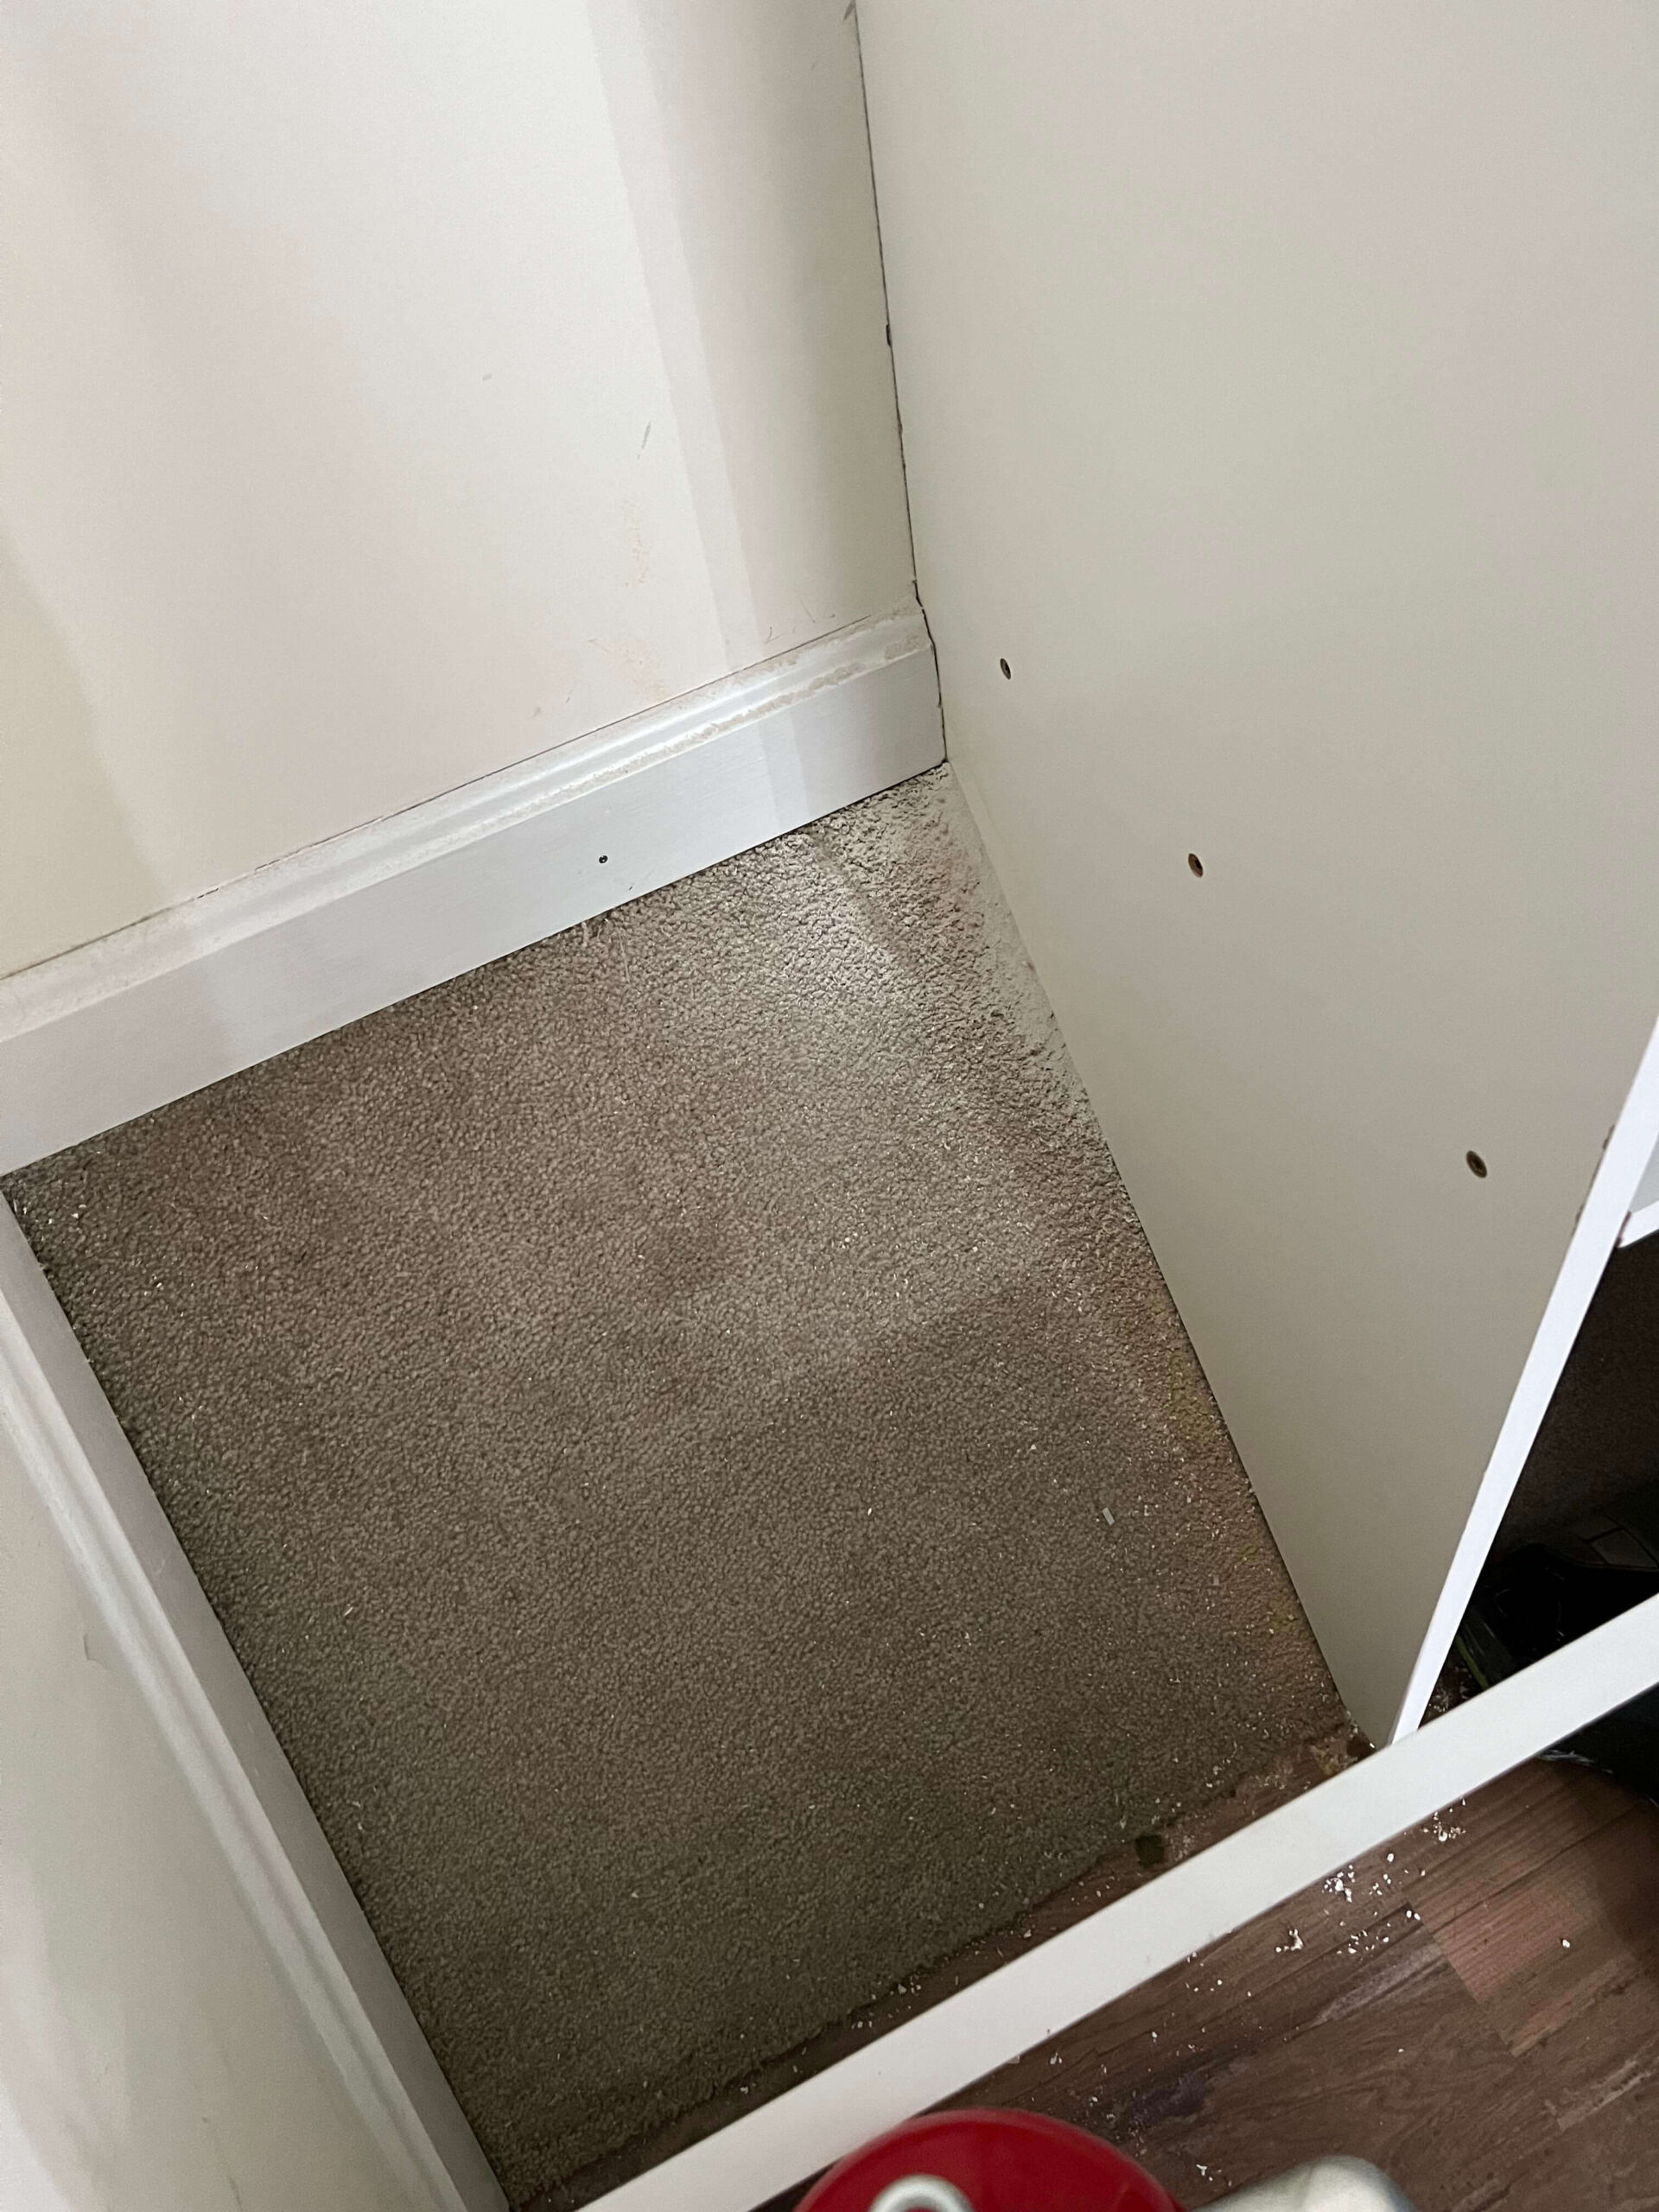
The first step is pretty straightforward. Before you get started you need to clear the closet out completely. Remove all current shelving units as well as any nails and screws in the wall. Now would be a great time to slap on a fresh coat of pain if that is something you had planned on.
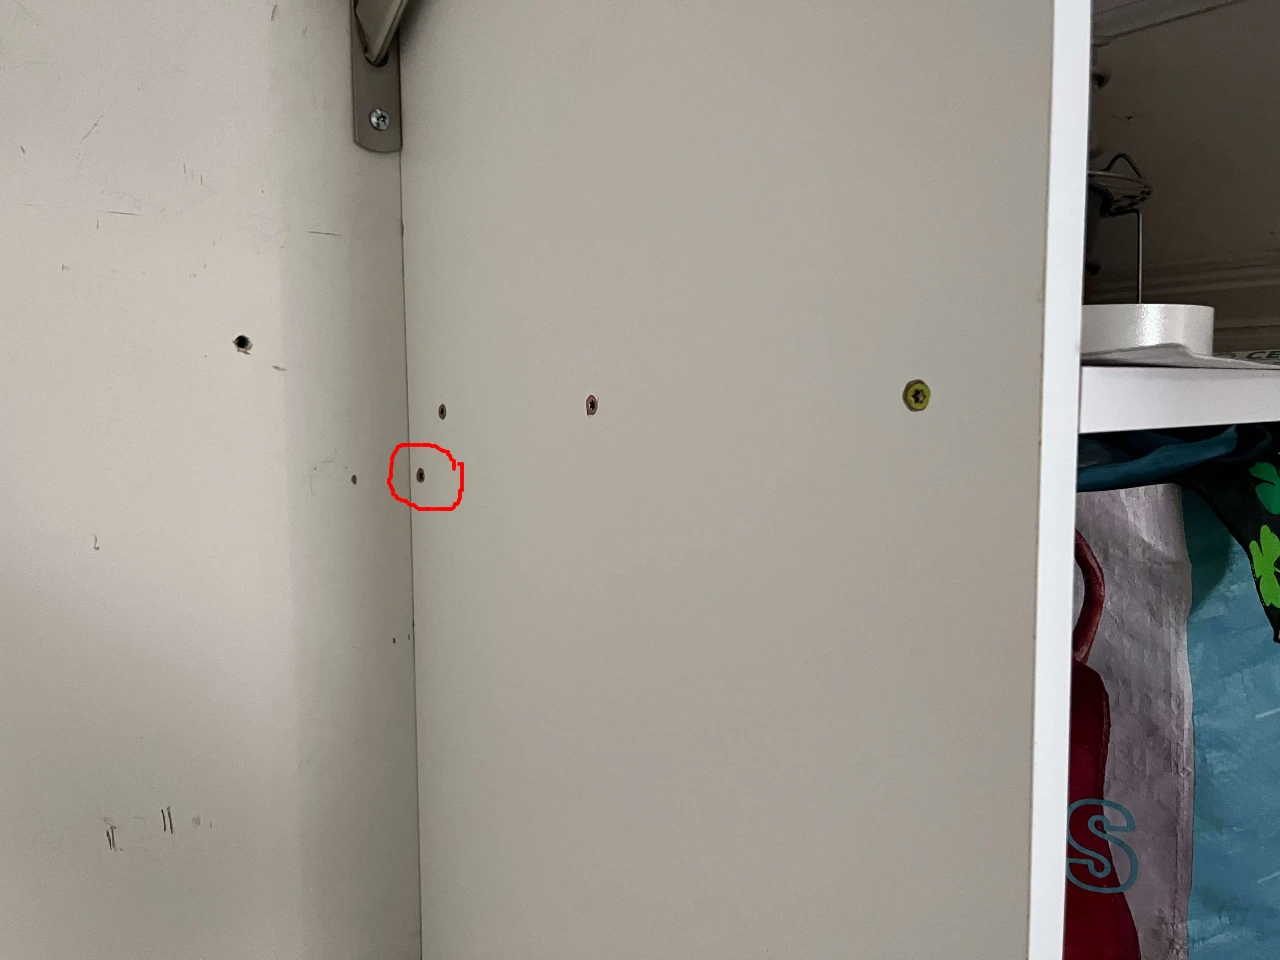
The next step is to locate all your wall studs. This is going to be a very important step as you will want to screw and nail your trim and brackets into studs for maximum strength.
If your studs are in spots where you can’t use them, that is ok we will just be using drywall anchors or toggle bolts. Make sure you get ones that will hold maximum weight!
The first major step is to map out where your vertical divider will be.
I placed mine in the very center of the closet, but depending on how much hanger or shelving space you need you will have to adjust accordingly.
Mark every few feet up where you will place the divider and check level as you go. I put a line in the very center of the closet and then marked 3/8″ on each side of that line to mark the thickness of my piece.
To hang the vertical divider you will need a way to attach the melamine board to the wall. If you are lucky enough to have a stud where you are hanging your divider you can use a pocket jig to secure the vertical piece to the stud.
If you aren’t so lucky (like me) I had to use a combination of Gorilla Glue, friction, and screws to hold it to the wall.
You’ll need to use an oscillating tool to cut out a slot in your base trim. You will have to make two cuts 3/4″ apart so that you can slip your vertical piece between the trim. Make sure that the two pieces are close enough together to make it a snug fit.
To secure the vertical divider I also used a thin bead of Gorilla Glue along the entire edge. I then held the vertical piece up against the wall by screwing it into the baseboard that I attached to the wall.
The first step to building the shelving units is to map out how large you want each shelf. My largest shelf is 20 inches tall, and I divided the rest of the shelves evenly between the remaining distance. This left me with approximately 11 inches for each of the other shelves.
Once you have the locations mapped out, mark the wall where each shelf will go and check for level.
When it comes to securing your shelves to the wall there are multiple systems out there that you can use. For this project I went base trim that I turn upside-down, it’s simple, easy to cut for a custom build, and overall, the price is pretty low.
As you can see, I didn’t get fancy here. I just went with a basic 45-degree cut for the corners and secured the trim to the wall with the finish nails. I went with 8D 2 1/- inch nails, as they are a bit beefier, and I believe will handle the weight better. Be sure to predrill the holes so that your trim doesn’t break.
Secure the shelf to the base trim with a few screws and then level out the shelf. This will help you when you are attaching the shelf to the middle divider.
To secure the shelving to the middle divider I went with glue and screws. When screwing through melamine you must predrill your holes. Use extra caution to ensure your holes are lined up with the shelf, melamine is not known for its forgiveness.
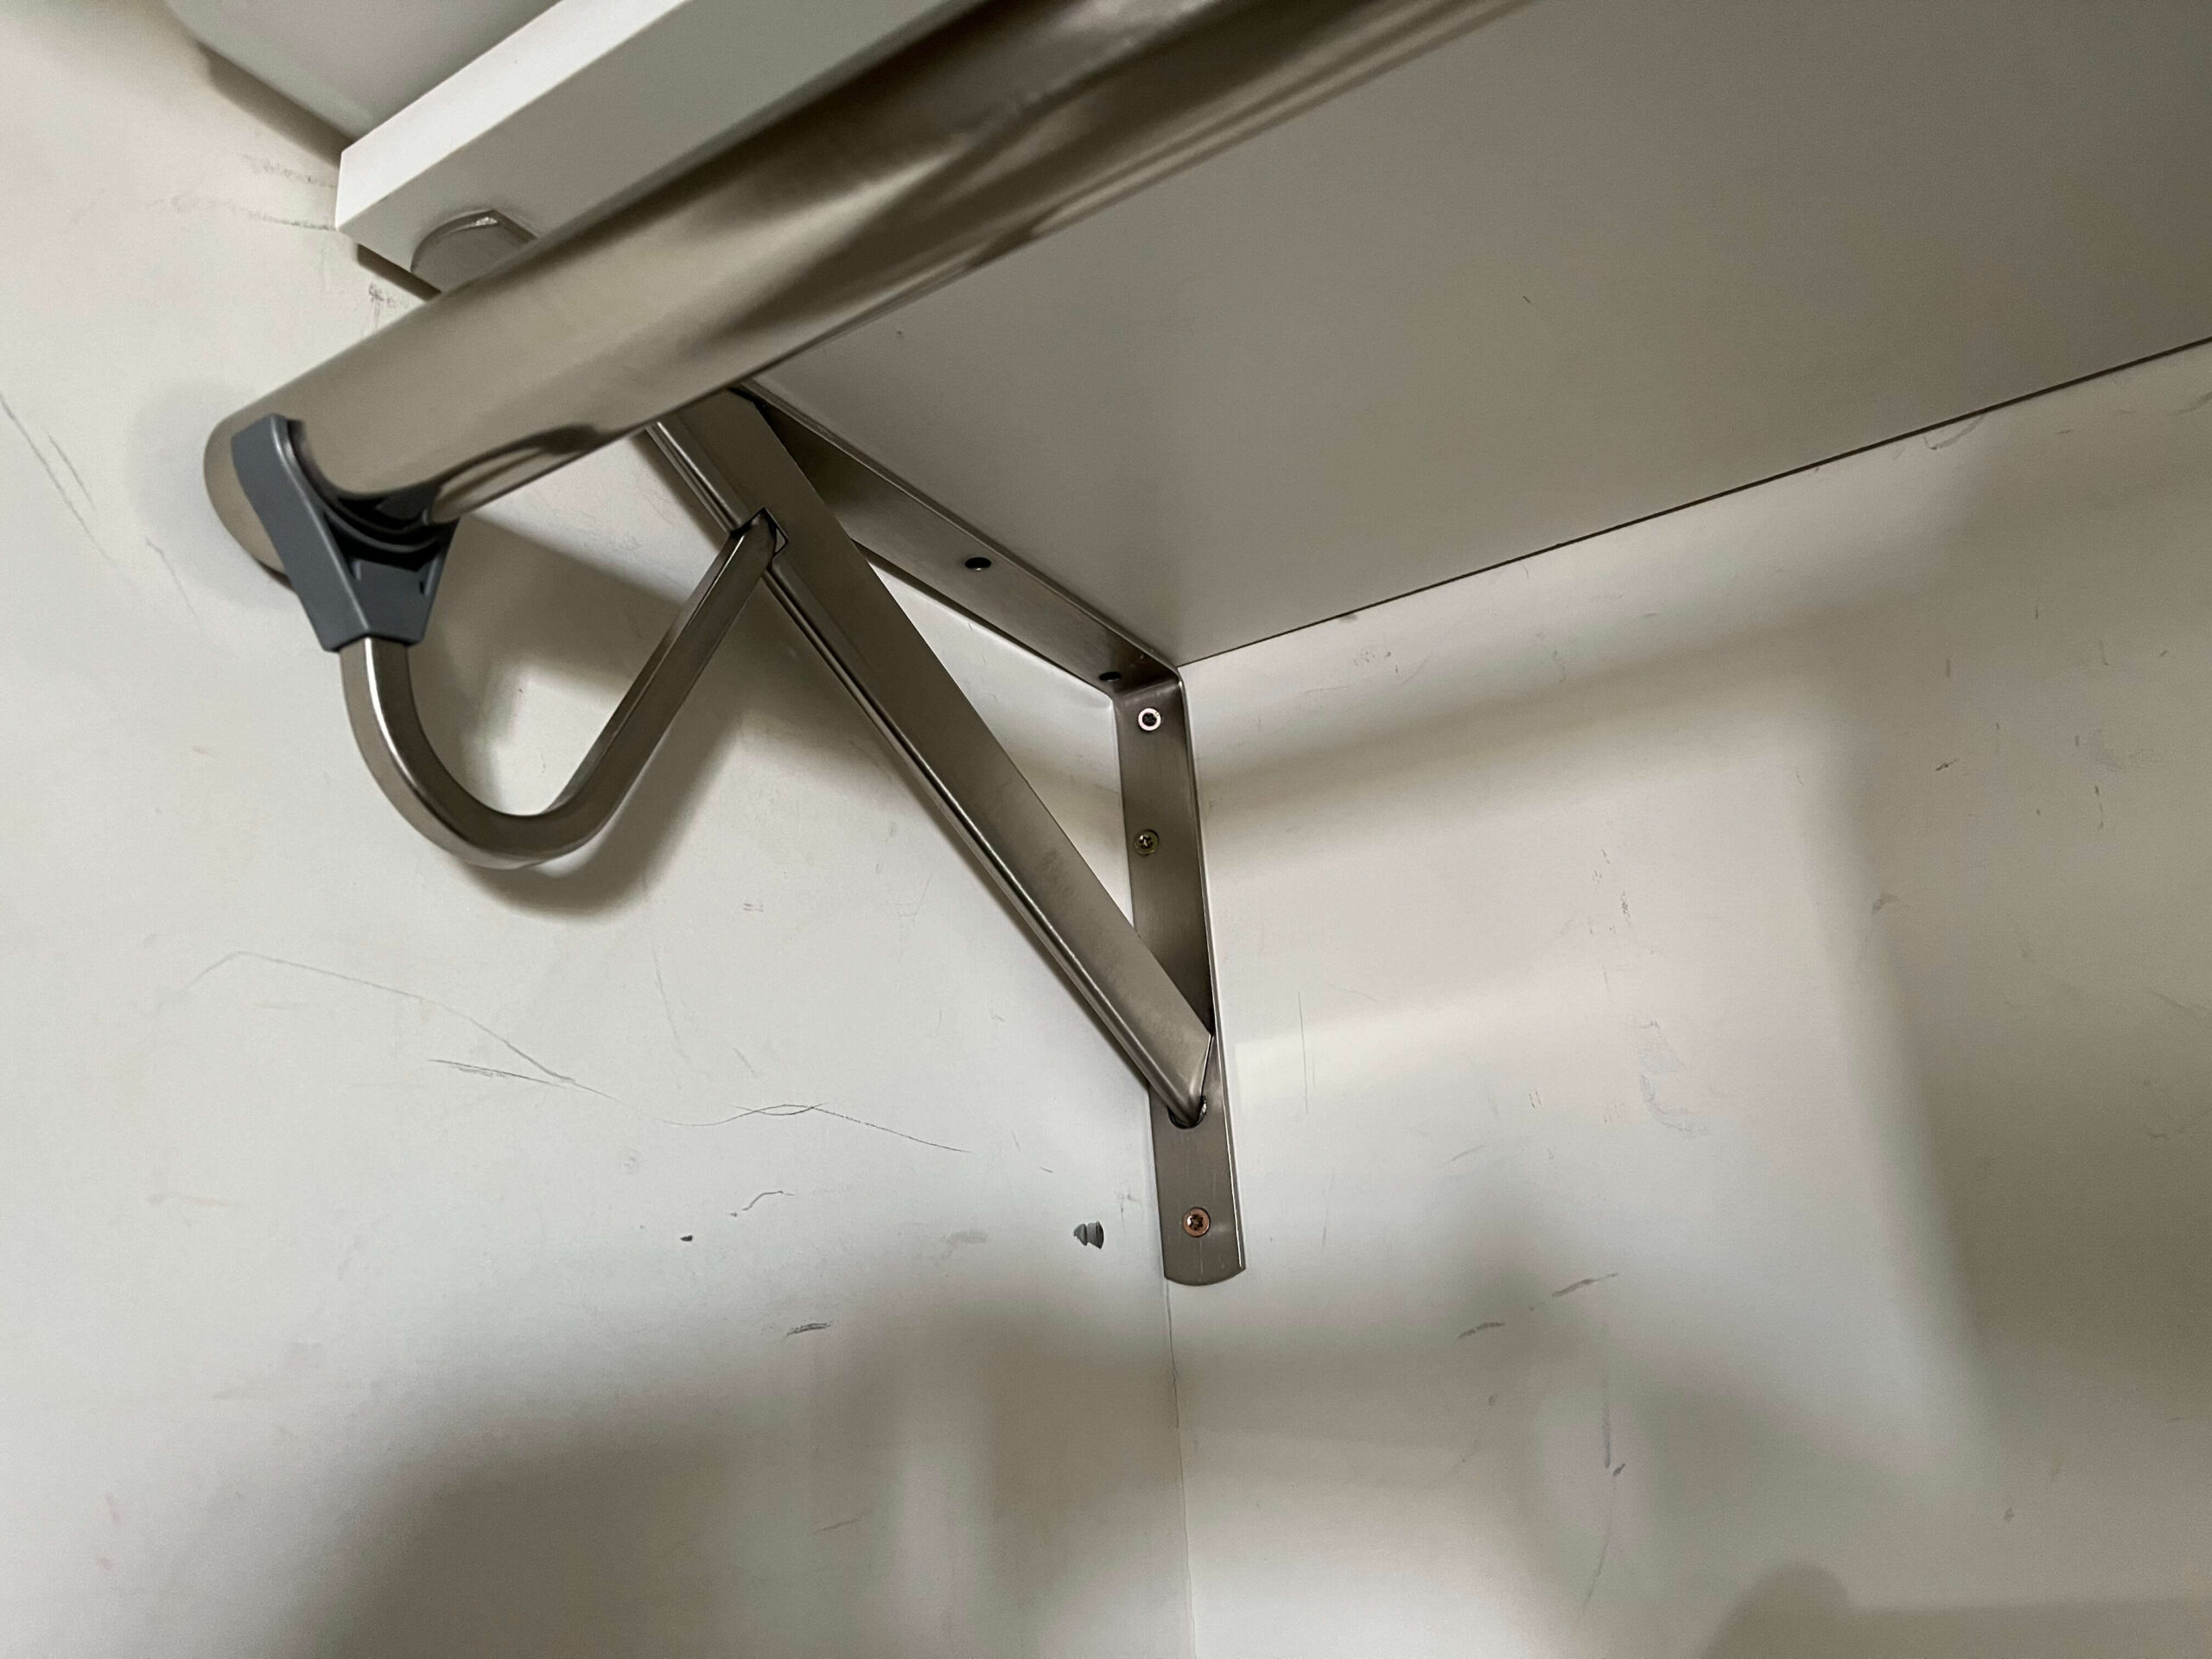
Securing the rod bracket to the wall is pretty straightforward but there are a few things to keep in mind.
With a double rod system, you want to place the top rod to at around 80″ up from the floor, and the bottom rod will go around 40″ from the floor. Depending on what you are hanging (kids’ coats) you can always adjust accordingly.
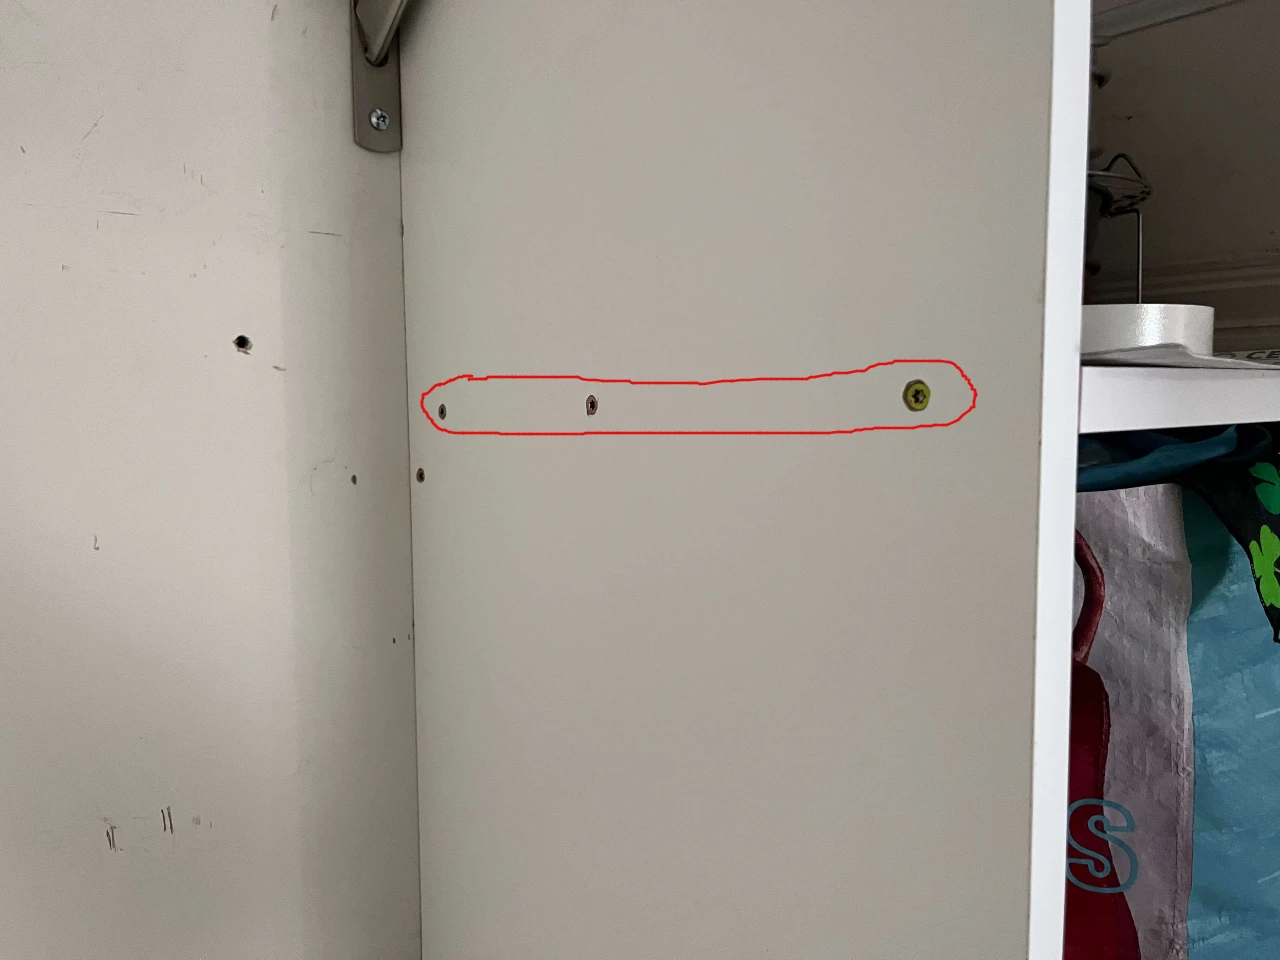
The most secure way to hang your rod bracket is to screw it directly into a stud. In my case, this was only an option for the bracket in the corner. For the other bracket, I had to use drywall toggle bolts.
When it comes to drywall anchors I like the ones pictured above the best. They all tend to be similar in how they work, but some are super flimsy and break, and you will lose half your toggle bolts behind the wall. I bought these ones and they worked flawlessly. So, save yourself some trouble and get the ones from Toggler!
You now can cut your rod and upper shelf to size and attach it to your rod bracket. The rod simply snaps into place, and I used 1/2″ screws to attach the bracket to the shelving unit. It is worth carefully predrilling; just be careful you don’t drill the whole way through your shelf.
Shelving comes in all different shapes and sizes. There are standard depths that most people use, usually between 12 and 24 inches. It will really all depend on how much room you have.
My lower shelves are all 15 3/4″ deep, but my top shelf is only 11 3/4″ deep. I had to make the top shelf smaller because my door doesn’t go all the way to the top of my closet. If I made the top shelf 15 3/4″ as well, I would never be able to get anything up there!
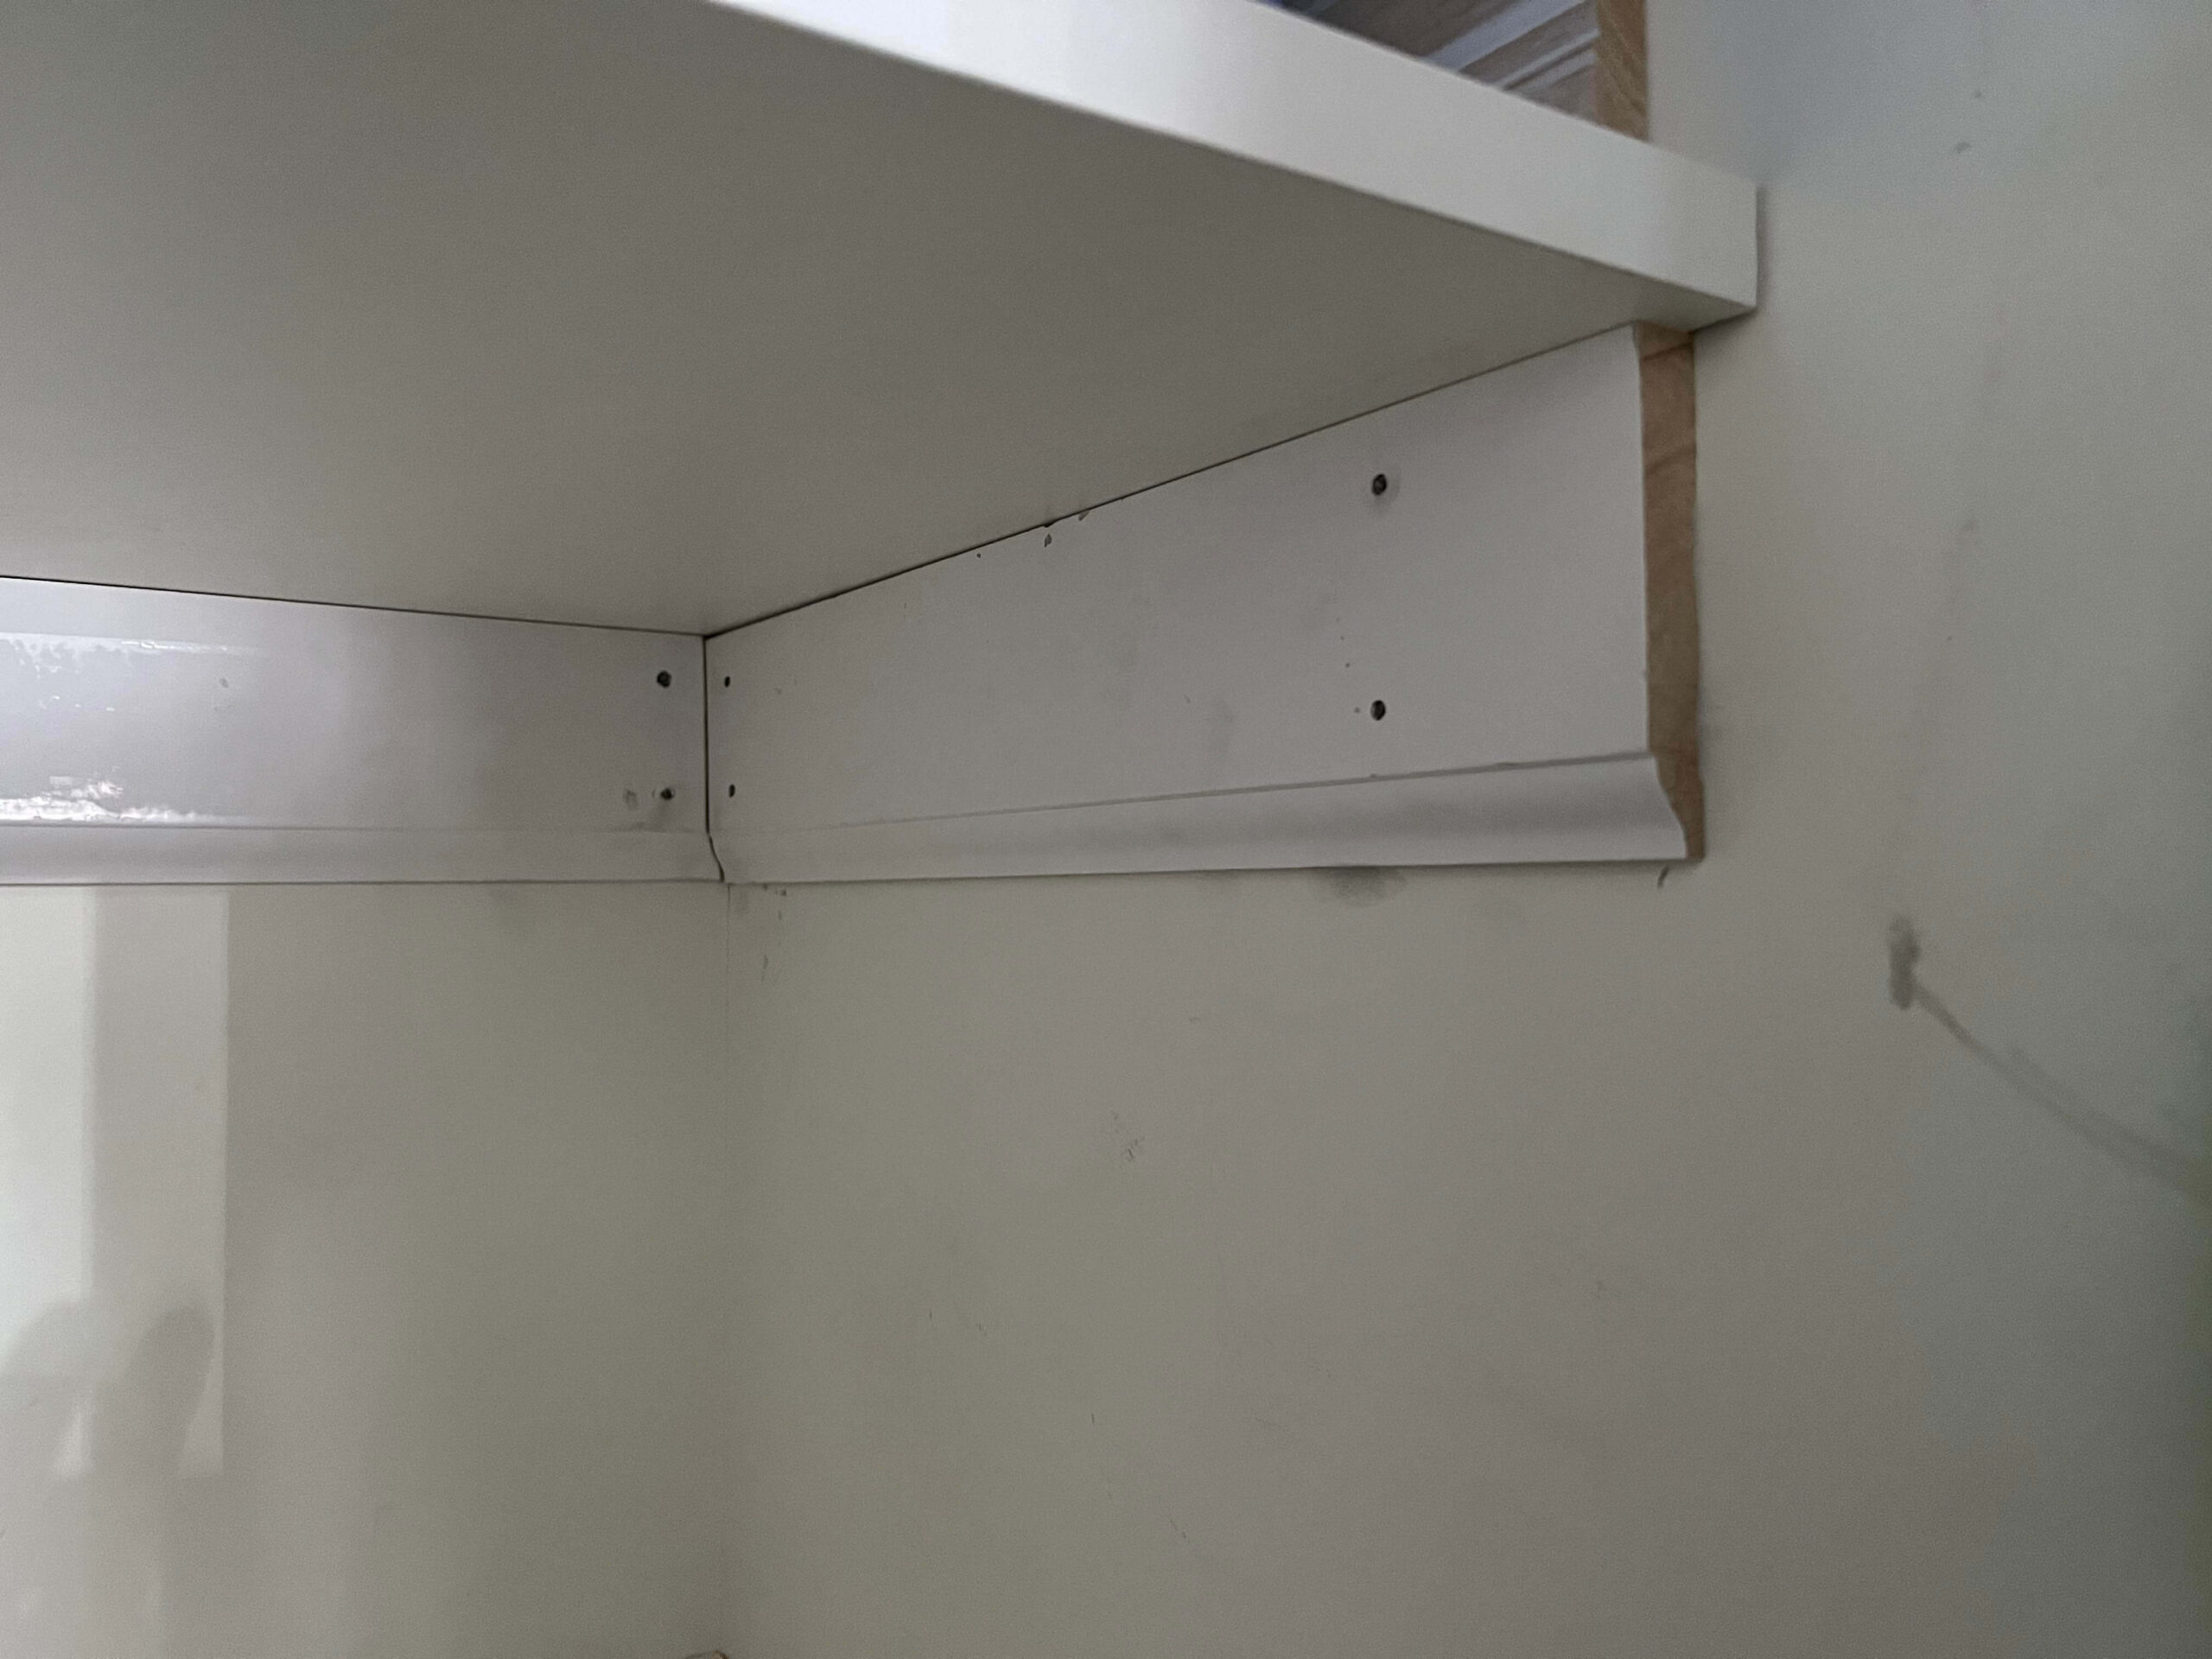
To transition the vertical divider into the top shelf I just made a diagonal cut to make the closet look cleaner as a whole. I measured in equal distances from the corner (4″) and connected the lines. Then just made a clean cut along the line.
To clean up the cut line you can use melamine edge banding that just goes on with an iron. This is a great way to finish up the closet for a professional look. I obviously have not gotten around to it yet but will update the picture when I do!
Updating your coat closet doesn’t have to be overly complicated or cost you a ton. With just a little bit of careful planning, and a bit of know how you could be enjoying a new coat closet and more storage by this time tomorrow! If you have any questions about this project or have some ideas of your own, please leave me a note below.

Managing finances effectively is crucial for the success of any small business. Budgeting plays a vital role in keeping track of expenses, optimizing cash flow, and making informed financial decisions. To simplify this process, finding the right budgeting software is essential. In this blog post, we will explore the top 10 budgeting software options specifically…

Closing a bank account might seem like a mundane task, but did you know that it can have a significant impact on your financial well-being? Whether you’re bidding farewell to a savings account, checking account, or even a credit card, it’s crucial to master the art of writing an effective bank account closure application. In…
Choosing where to live is a big financial decision. In this guide, we’ll explain the differences between High Cost of Living (HCOL) and Low Cost of Living (LCOL) areas and how they can affect your money and plans for the future. Understanding HCOL and LCOL Areas Before we dive into the numbers, let’s grasp what…

In today’s digital age, more and more people are turning to the internet to earn money conveniently and flexibly. Whether you’re looking to supplement your income or establish a full-time online business, the internet offers a plethora of opportunities. And when it comes to online transactions, PayPal has emerged as a secure and widely-used payment…

Feeling financially overwhelmed? You’re not alone, many people struggle with budgeting disorganization and lack of savings and overspending. But don’t panic – there is help! Positive money affirmations or a money mantra can be an effective way to begin improving your financial wellbeing by reshaping the way you think about finances, setting clear money goals,…

Accurate bookkeeping is vital for small businesses to maintain financial clarity and make informed decisions. Utilizing small business bookkeeping software streamlines the process, saving time and enhancing accuracy. In this article, we will explore comprehensive best practices to optimize small business bookkeeping using accounting software, ensuring a strong financial foundation for your success. The Importance of…
One Comment